Sometimes we put things out into the world, seeking feedback from others, and later decide that perhaps it was a mistake. I had one of those moments this week.
This requires some back story...
Chris started a new job this week, which we are very excited about. He has been through a very challenging, and slow search process, and there is a huge sense of relief that it's finally over. We both tried to stay positive throughout what seemed like a very long four-five months of unemployment. It was very hard for me to not carry guilt, as he moved to Milwaukee with me because of my new job. And so although I've felt very busy since the move, with out-of-town visits, conferences, volunteering, school, etc., we were still sort of in a holding pattern. On pause, waiting for the rest of the transition to happen. Waiting for us both to be employed, so that we could find our new home.
My mom is a saint, because she agreed to take us (including two rambunctious kitties) into her home for this long stretch of waiting. And I truly love her for that. But as you might know, it is really hard to live at home as an adult, especially after flying solo for the last 10 years. And there were times where I was really crabby, if not downright unbearable to live with. All other members of my family can attest. Cats included. Home is supposed to be that place that you love. And your mom is supposed to be your mom, not your roommate. Even if she does make you delicious dinners. With Chris' new job, it is officially time to move out, so that I can enjoy going back home again (and get rid of my long commute).
So this weekend, Chris and I began our hunt for our new home. We tried to go into the experience with an open mind, some direction, and our list of non-negotiables. We knew that we had to have a two bedroom that allowed pets, and that had off-street parking for at least one, but hopefully both cars. We wanted to be closer to the city, although not necessarily downtown, in order to keep our costs reasonable. Safety was also key. We narrowed down to a few key neighborhoods, that we thought would provide some good options.
Chris' big goal was to be in walking distance of stuff. Stuff was loosely defined, but basically he was okay with being in a more residential neighborhood, but with things like a Walgreens or a grocery store close by. My St. Louis apartment was in walking distance to a Walgreens, the best Indian restaurant in town, a cupcake cafe (gasp!), a grocery store, and two whole shopping centers with a Barnes & Noble, Old Navy, Pei Wei, nail salon, Maggie Moo's, etc. Pretty fantastic. I would enjoy having something like that again.
We were of course hoping for some of those creature comforts like a washer/dryer, dishwasher, central air conditioning, storage, etc. I put out there that good windows were a must, for energy efficiency and security. But most importantly, our goal was to find a place where we could stay for awhile. We are already combining two apartments, and are moving items from two different storage locations. Meaning that this move is essentially a six-eight step process. At one point in my life, I was moving once, if not, multiple times, a year. With the amount of stuff I've accumulated at this point, I just cannot do it. I like to commit for the long haul. And we know that it will be some time before we could consider buying a house, so we wanted to find a place that we really like.
As we drove around considering different types of space, Chris leaned more towards complexes, while I was hoping for a duplex. He had previous negative experiences with independent landlords who liked to enter the home unannounced, whereas I had been in a complex with a lot of issues which made the management companies seem less appealing. I, of course, had stubbornly stayed in the place for four years despite the squirrels living in the ceiling, crappy windows that would flood my second floor apartment during heavy rains, relatively frequent siting of cockroaches and other bugs, not to mention frustrations with noisy neighbors. Moral of the story: Don't be fooled by a swimming pool, or nicely decorated model apartment - ask to see the actual space you will be living in.
We ended up writing down numbers for both complexes and duplexes. Really anything we could find that we'd identify as an apartment for rent. January is a more challenging time to be looking. We went home and looked up stuff online, which narrowed down the list, based on some really terrible reviews. We made some calls, and found ourselves with appointments to see three places...
(to be continued)
Tuesday, January 31, 2012
Wednesday, January 4, 2012
Homemade Gifts 2011: Etched Initial Jar
I decided to stick with the initial theme this year for my sister, and crafted another project - this cute initial jar!
I had seen the process for etching your own glass on Young House Love. They did this cute project last Thanksgiving, and I thought: Hey, I could do that!
I started by purchasing a lidded jar from Target for just $6. I thought it would be great for the kitchen, bathroom...really anywhere!

I then purchased a jar of Armor Etch from Michael's. It is not exactly cheap, but it will last forever.
 I also bought some of the big sheets of duct tape (awesome invention!). I couldn't find contact paper or the specific stencils that are suggested by the brand, so this seemed like a good alternative to create my own stencil.
I then went on the computer and printed off a lowercase "r". I looked through a bunch of different fonts, but ultimately decided that the Times New Roman was the cutest, with the serif. I sized it up to just fit the jar, leaving enough of an edge.

Next I cut out the "r" and traced it onto the duct tape sheet using a Sharpie.

Then I carefully cut out the duct tape stencil with a craft knife. It wasn't perfect, but it would do.
 Then I applied the duct tape to the jar, keeping it as straight as I could. I pressed it down as tightly as I could, so that the cream wouldn't ooze through.
 I painted the cream on, being very careful not to get it on anything else. Newspaper underneath is a must!
The jar gives some time specifications for how long the cream should be on, but I wasn't really sure for the duct tape, so I sort of winged it, per John and Sherry's instructions. I initially washed it off, but decided it needed a little more time and did a second coat.
Unfortunately, a few of the edges didn't stay as strong as it hoped, and so it's definitely homemade looking, but that's okay!
After washing and drying, I just added a fun ribbon.

Cute, right?
I had seen the process for etching your own glass on Young House Love. They did this cute project last Thanksgiving, and I thought: Hey, I could do that!
I started by purchasing a lidded jar from Target for just $6. I thought it would be great for the kitchen, bathroom...really anywhere!

I then purchased a jar of Armor Etch from Michael's. It is not exactly cheap, but it will last forever.

I then went on the computer and printed off a lowercase "r". I looked through a bunch of different fonts, but ultimately decided that the Times New Roman was the cutest, with the serif. I sized it up to just fit the jar, leaving enough of an edge.

Next I cut out the "r" and traced it onto the duct tape sheet using a Sharpie.

Then I carefully cut out the duct tape stencil with a craft knife. It wasn't perfect, but it would do.


The jar gives some time specifications for how long the cream should be on, but I wasn't really sure for the duct tape, so I sort of winged it, per John and Sherry's instructions. I initially washed it off, but decided it needed a little more time and did a second coat.
Unfortunately, a few of the edges didn't stay as strong as it hoped, and so it's definitely homemade looking, but that's okay!
After washing and drying, I just added a fun ribbon.

Cute, right?
Tuesday, January 3, 2012
Homemade Gifts 2011: Initial Letters
Now that the gifts have been given, I thought I'd share the details on the ones I made.
Last year, I made my mom some big initial letters to go in her kitchen. I picked the paper because it reminded me of vintage aprons. My sister moved into a new apartment last August, and had been asking for some of her own. Perfect Christmas present for her for this year.
I headed over to Michael's, and picked up some cheap wooden letters. These were slightly different than the cardboard ones I had purchased at Hobby Lobby for my mom's (and a set I made for myself). I was actually really excited about these because they were already painted white, which meant less work on my part than the cardboard ones. And they are a bit smaller, which I thought would keep it flexible, in case she wanted to take them to her office.

I also picked out some cute craft paper to use. The colors reminded me of some flowery tops that she likes to wear. The nice part about the Basic Grey craft paper line (my absolute favorite) is that the sheets are double-sided, two fun patterns in one!

I then used a pencil to trace the letters on the craft paper. I had to go back afterwards and erase the pencil lines that may have ended up on the letters (don't forget this step).

Next I carefully cut out the paper letters, and glued them down.

Ta Da! Cute and quick project. And a great gift!
Monday, January 2, 2012
Christmas Crafting: Danish Hearts
Okay, so Christmas has clearly come and gone, but I thought it was worth sharing some of my end of the year projects/adventures. I wrote these awhile ago, but it took me a bit longer to add in the pictures...
My mom's family has Danish roots and they have embraced many Danish traditions that they are now passing on to the younger generation. Each year, we come together for Cookie Weekend, where we bake Klejner, a Danish cookie.
While at cookie weekend this year, one of my aunt's brought the supplies to teach us to make Danish hearts that look like little woven baskets, which you may have seen gracing the Christmas tree before. My sister was interested in learning, and I was all for it too!
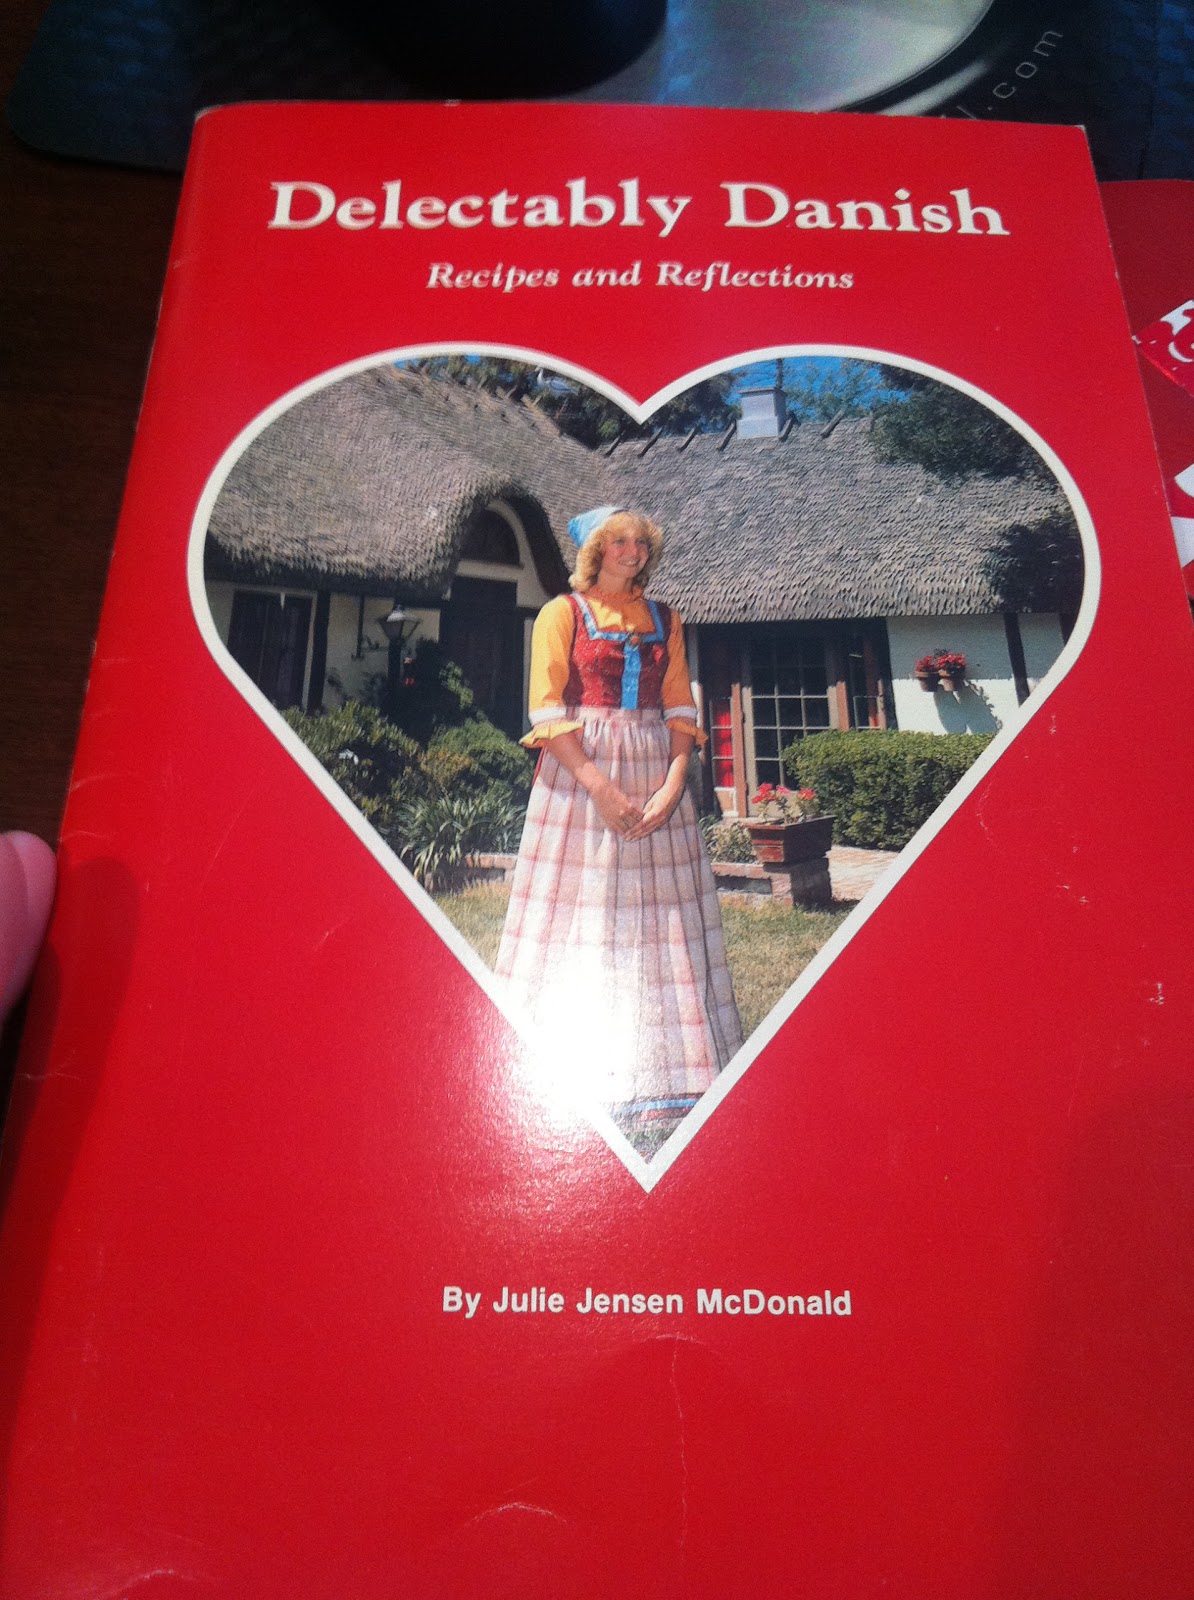
We freestyled it, but you can also find instructions in the book, Delectably Danish: Recipes and Reflections, by Julie Jensen McDonald. You better believe that each of us has a copy!

Here would be my basic instructions, complete with some really terrible pics that I took while crafting.
Supplies you need:
1. Wrapping paper, in at least two colors. Red and white are the traditional Danish colors from the flag, but you can definitely throw in some fun patterns or non-traditional colors.
2. Scissors
3. Tape
You start by cutting rectangles of even size out of your wrapping paper. The instructions in Delectably Danish say, three times as long as they are wide. You then fold them in half, hamburger style.

Utilizing the open end of the folds, you want to round them off into a semi-circle. I just free handed it, but you could definitely use a glass or a template of some kind. I lined mine up so that they at least had a similar round.

Then, using the folded end, you cut your slits on the folded side. Your folds have to be cut high enough to acount for the width of the other rectangle to be woven in, but not too high into the top of the heart. You can measure and mark off a top line for your cut if you want.

You can get creative on this in terms of how simple or how intricate you want your weaving to be.

I did one basket with two slits (easy), one with three slits of different widths (a little more complex), and one with four (that's as challenging as I get folks).

Some people get uber fancing and do patterns in the weave, or shapes. Not my thing.
Then the obvious next step, is to weave the two pieces of your heart together. You want to start your weaving with the inside pieces of the heart, alternating your pieces like so. The bottom weaving can be a little tricky, especially if you have a lot of narrow pieces. Work delicately!
 The last step is to add a little paper handle, which is just a skinny piece of paper folded in half.
Pretty, right?
My mom's family has Danish roots and they have embraced many Danish traditions that they are now passing on to the younger generation. Each year, we come together for Cookie Weekend, where we bake Klejner, a Danish cookie.
While at cookie weekend this year, one of my aunt's brought the supplies to teach us to make Danish hearts that look like little woven baskets, which you may have seen gracing the Christmas tree before. My sister was interested in learning, and I was all for it too!
We freestyled it, but you can also find instructions in the book, Delectably Danish: Recipes and Reflections, by Julie Jensen McDonald. You better believe that each of us has a copy!
Here would be my basic instructions, complete with some really terrible pics that I took while crafting.
Supplies you need:
1. Wrapping paper, in at least two colors. Red and white are the traditional Danish colors from the flag, but you can definitely throw in some fun patterns or non-traditional colors.
2. Scissors
3. Tape
You start by cutting rectangles of even size out of your wrapping paper. The instructions in Delectably Danish say, three times as long as they are wide. You then fold them in half, hamburger style.

Utilizing the open end of the folds, you want to round them off into a semi-circle. I just free handed it, but you could definitely use a glass or a template of some kind. I lined mine up so that they at least had a similar round.

Then, using the folded end, you cut your slits on the folded side. Your folds have to be cut high enough to acount for the width of the other rectangle to be woven in, but not too high into the top of the heart. You can measure and mark off a top line for your cut if you want.

You can get creative on this in terms of how simple or how intricate you want your weaving to be.

I did one basket with two slits (easy), one with three slits of different widths (a little more complex), and one with four (that's as challenging as I get folks).

Some people get uber fancing and do patterns in the weave, or shapes. Not my thing.
Then the obvious next step, is to weave the two pieces of your heart together. You want to start your weaving with the inside pieces of the heart, alternating your pieces like so. The bottom weaving can be a little tricky, especially if you have a lot of narrow pieces. Work delicately!

Pretty, right?
Subscribe to:
Posts (Atom)